Монтаж на едноръкохватковия смесител
1 - Pick up the mixer and water-tight seal,place the seal on the basin and insert the hoses into the mixer hole on the basin.
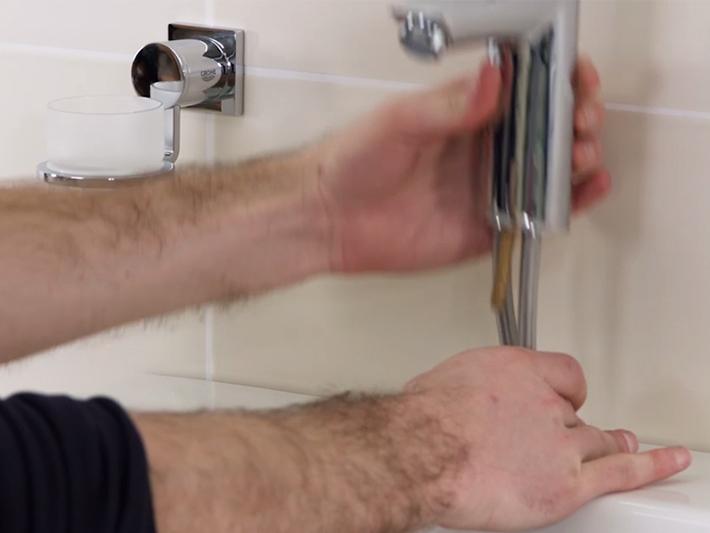
2 - Place the mixer so that the water-tight seal is in contact with the basin. Hold the mixer in this position.Hint: use the hoses to hold the mixer firmly until it is attached.
3 - Take the tightening shim and its nut, now slide the locking nut along the threaded rod, positioning the seal towards the unit, then tighten the nut firmly.
Инсталация на сифона
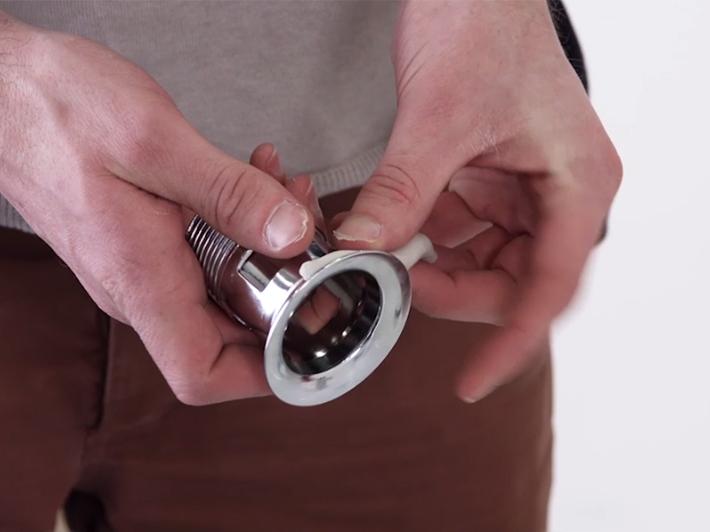
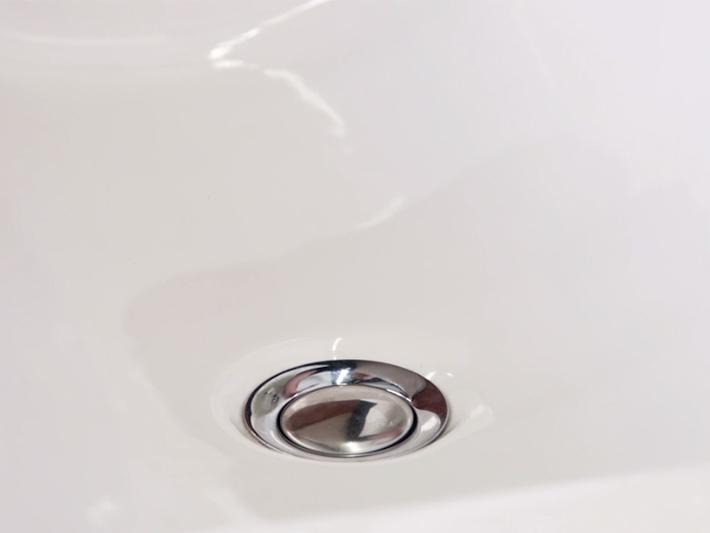
1 - Pick up the plug-hole, for water-tightness, apply a sealing compound or silicon around the plug-hole, then insert it into the basin's drain hole.
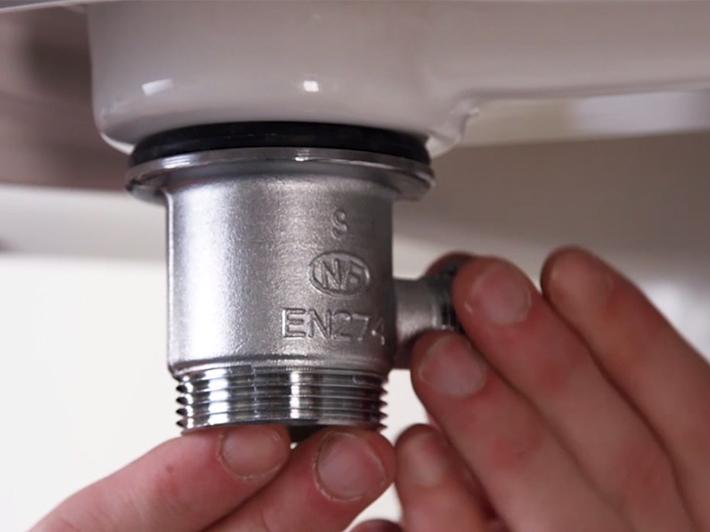
2 - Screw the drain down onto the threaded part of the plug-hole, making sure to orient the drain axis towards the back. Check tightening to avoid any risk of leaks.
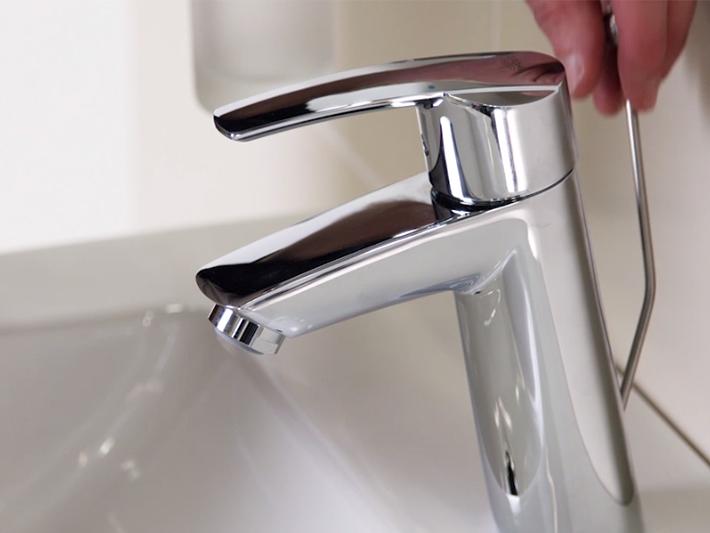
3 - Insert the pop up rod in to the back of the mixer.
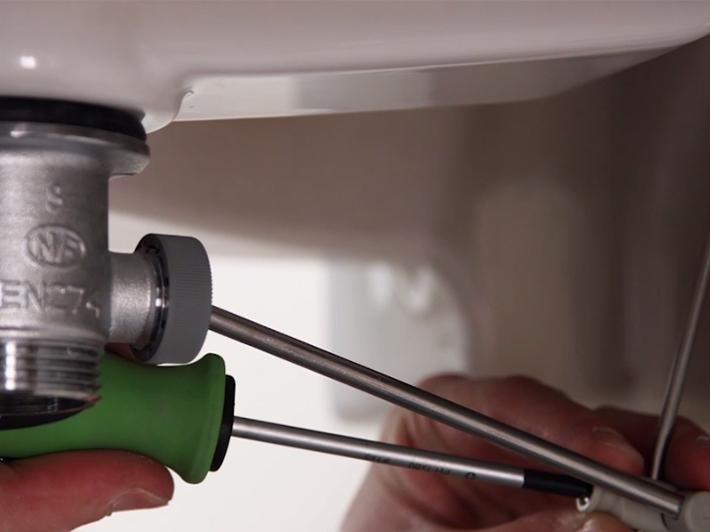
4 - Connect the pop up rod and horizontal rod using the plastic connector.
5 - Use the drain actuator to make sure the plug closes completely. If not, remove it and unscrew the lock nut, use an adjustable wrench to turn the adjustment screw, then tighten down the lock nut with a 10 mm spanner
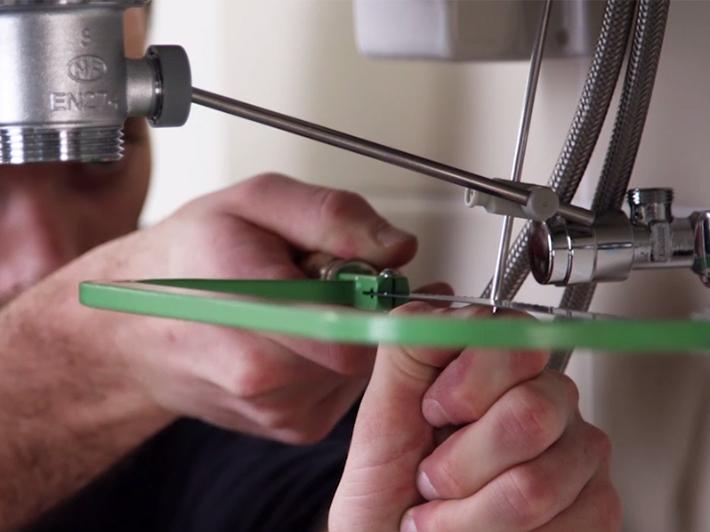
6 - Use a metal saw to cut off the excess part of the extender, which could interfere with the drain.
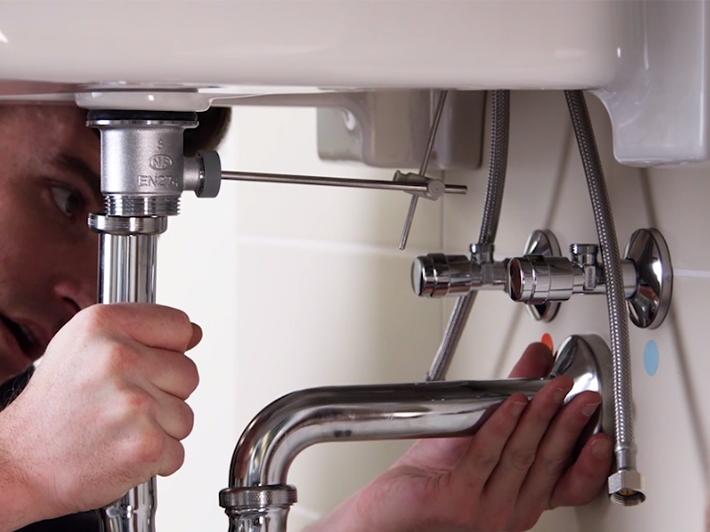
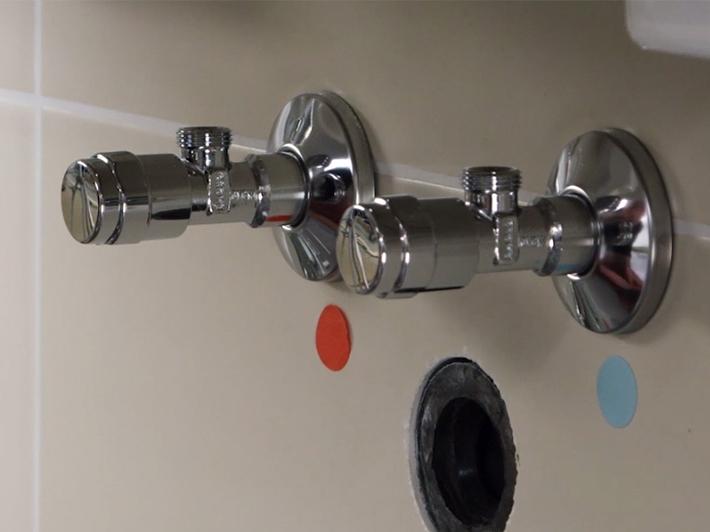
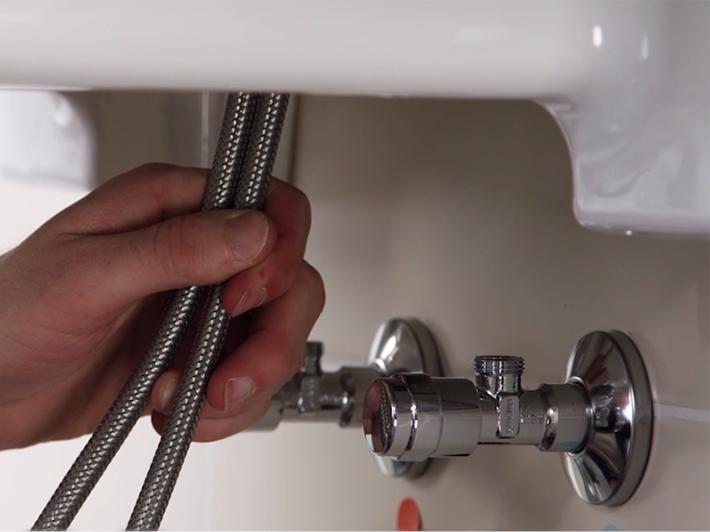
7 - Make sure seals are present in the hoses. If not, add a fiber or rubber seal. Screw the left-hand hose onto the hot water faucet, and the right-hand hose on the cold water faucet. Tighten with a 19 mm open-end wrench. Make sure there are no kinks or bends in the hoses.
Open the two water supply faucets. Make sure everything is water-tight.